
Simple Living | A Reorganized Home

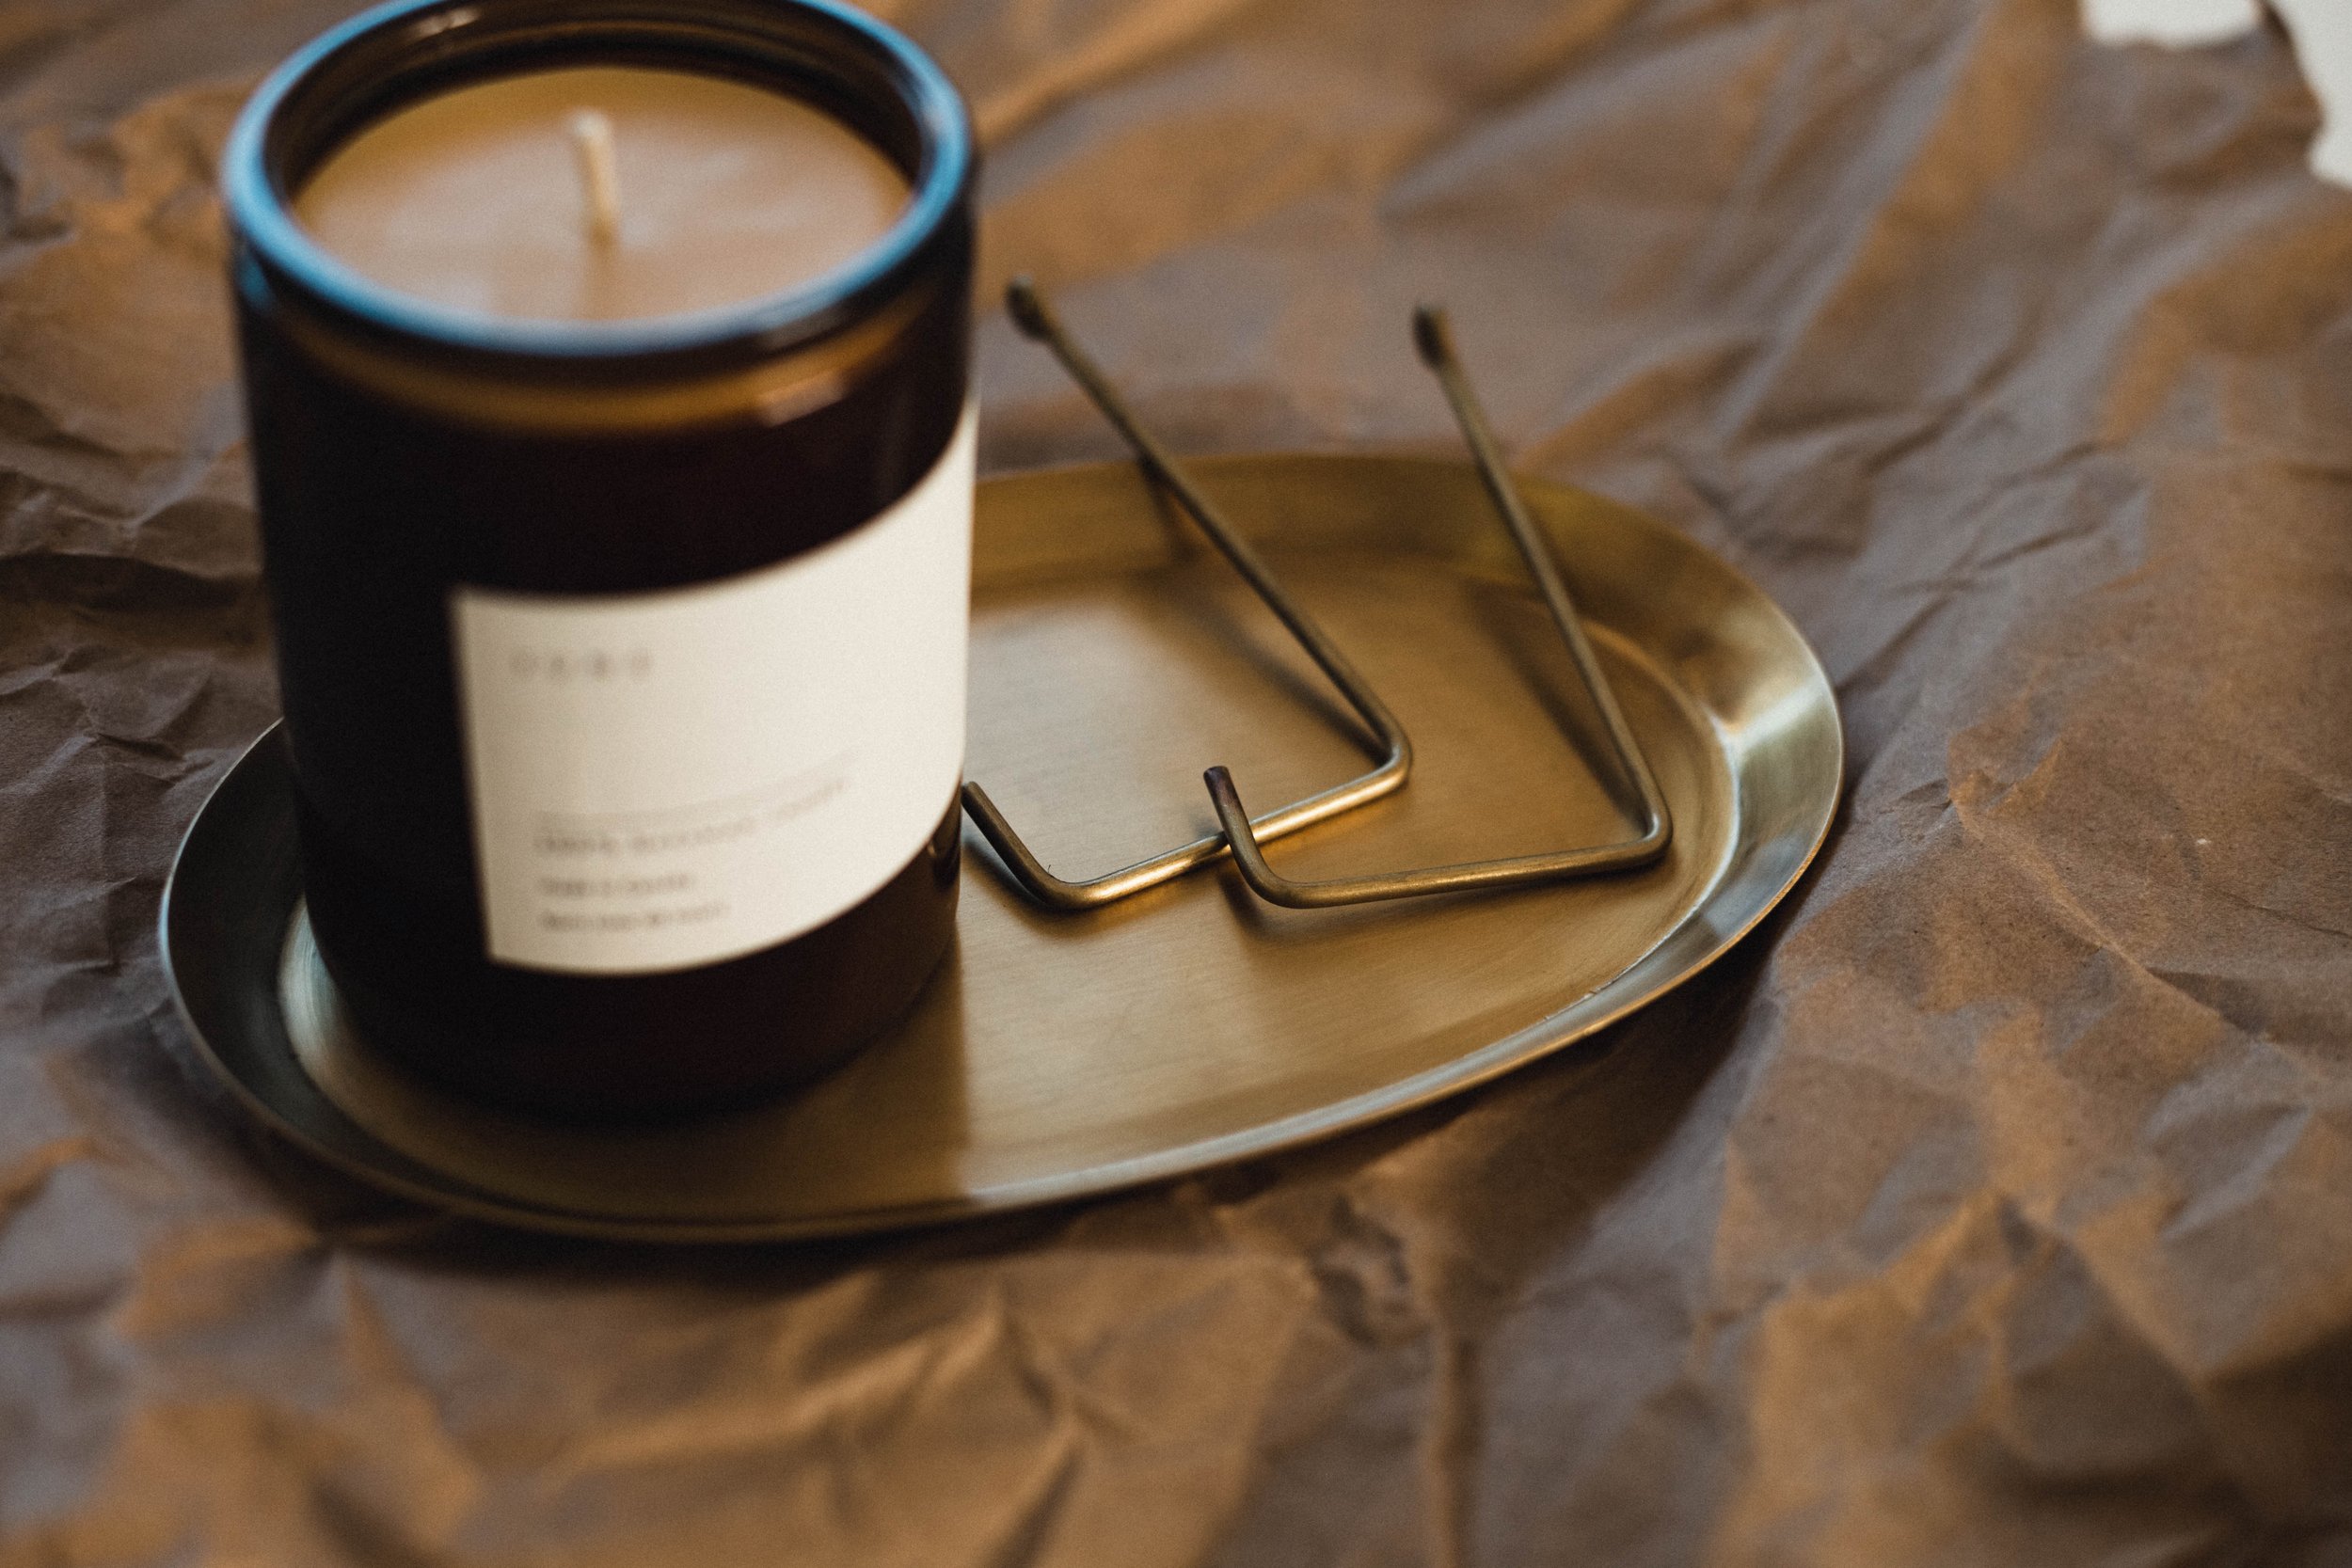
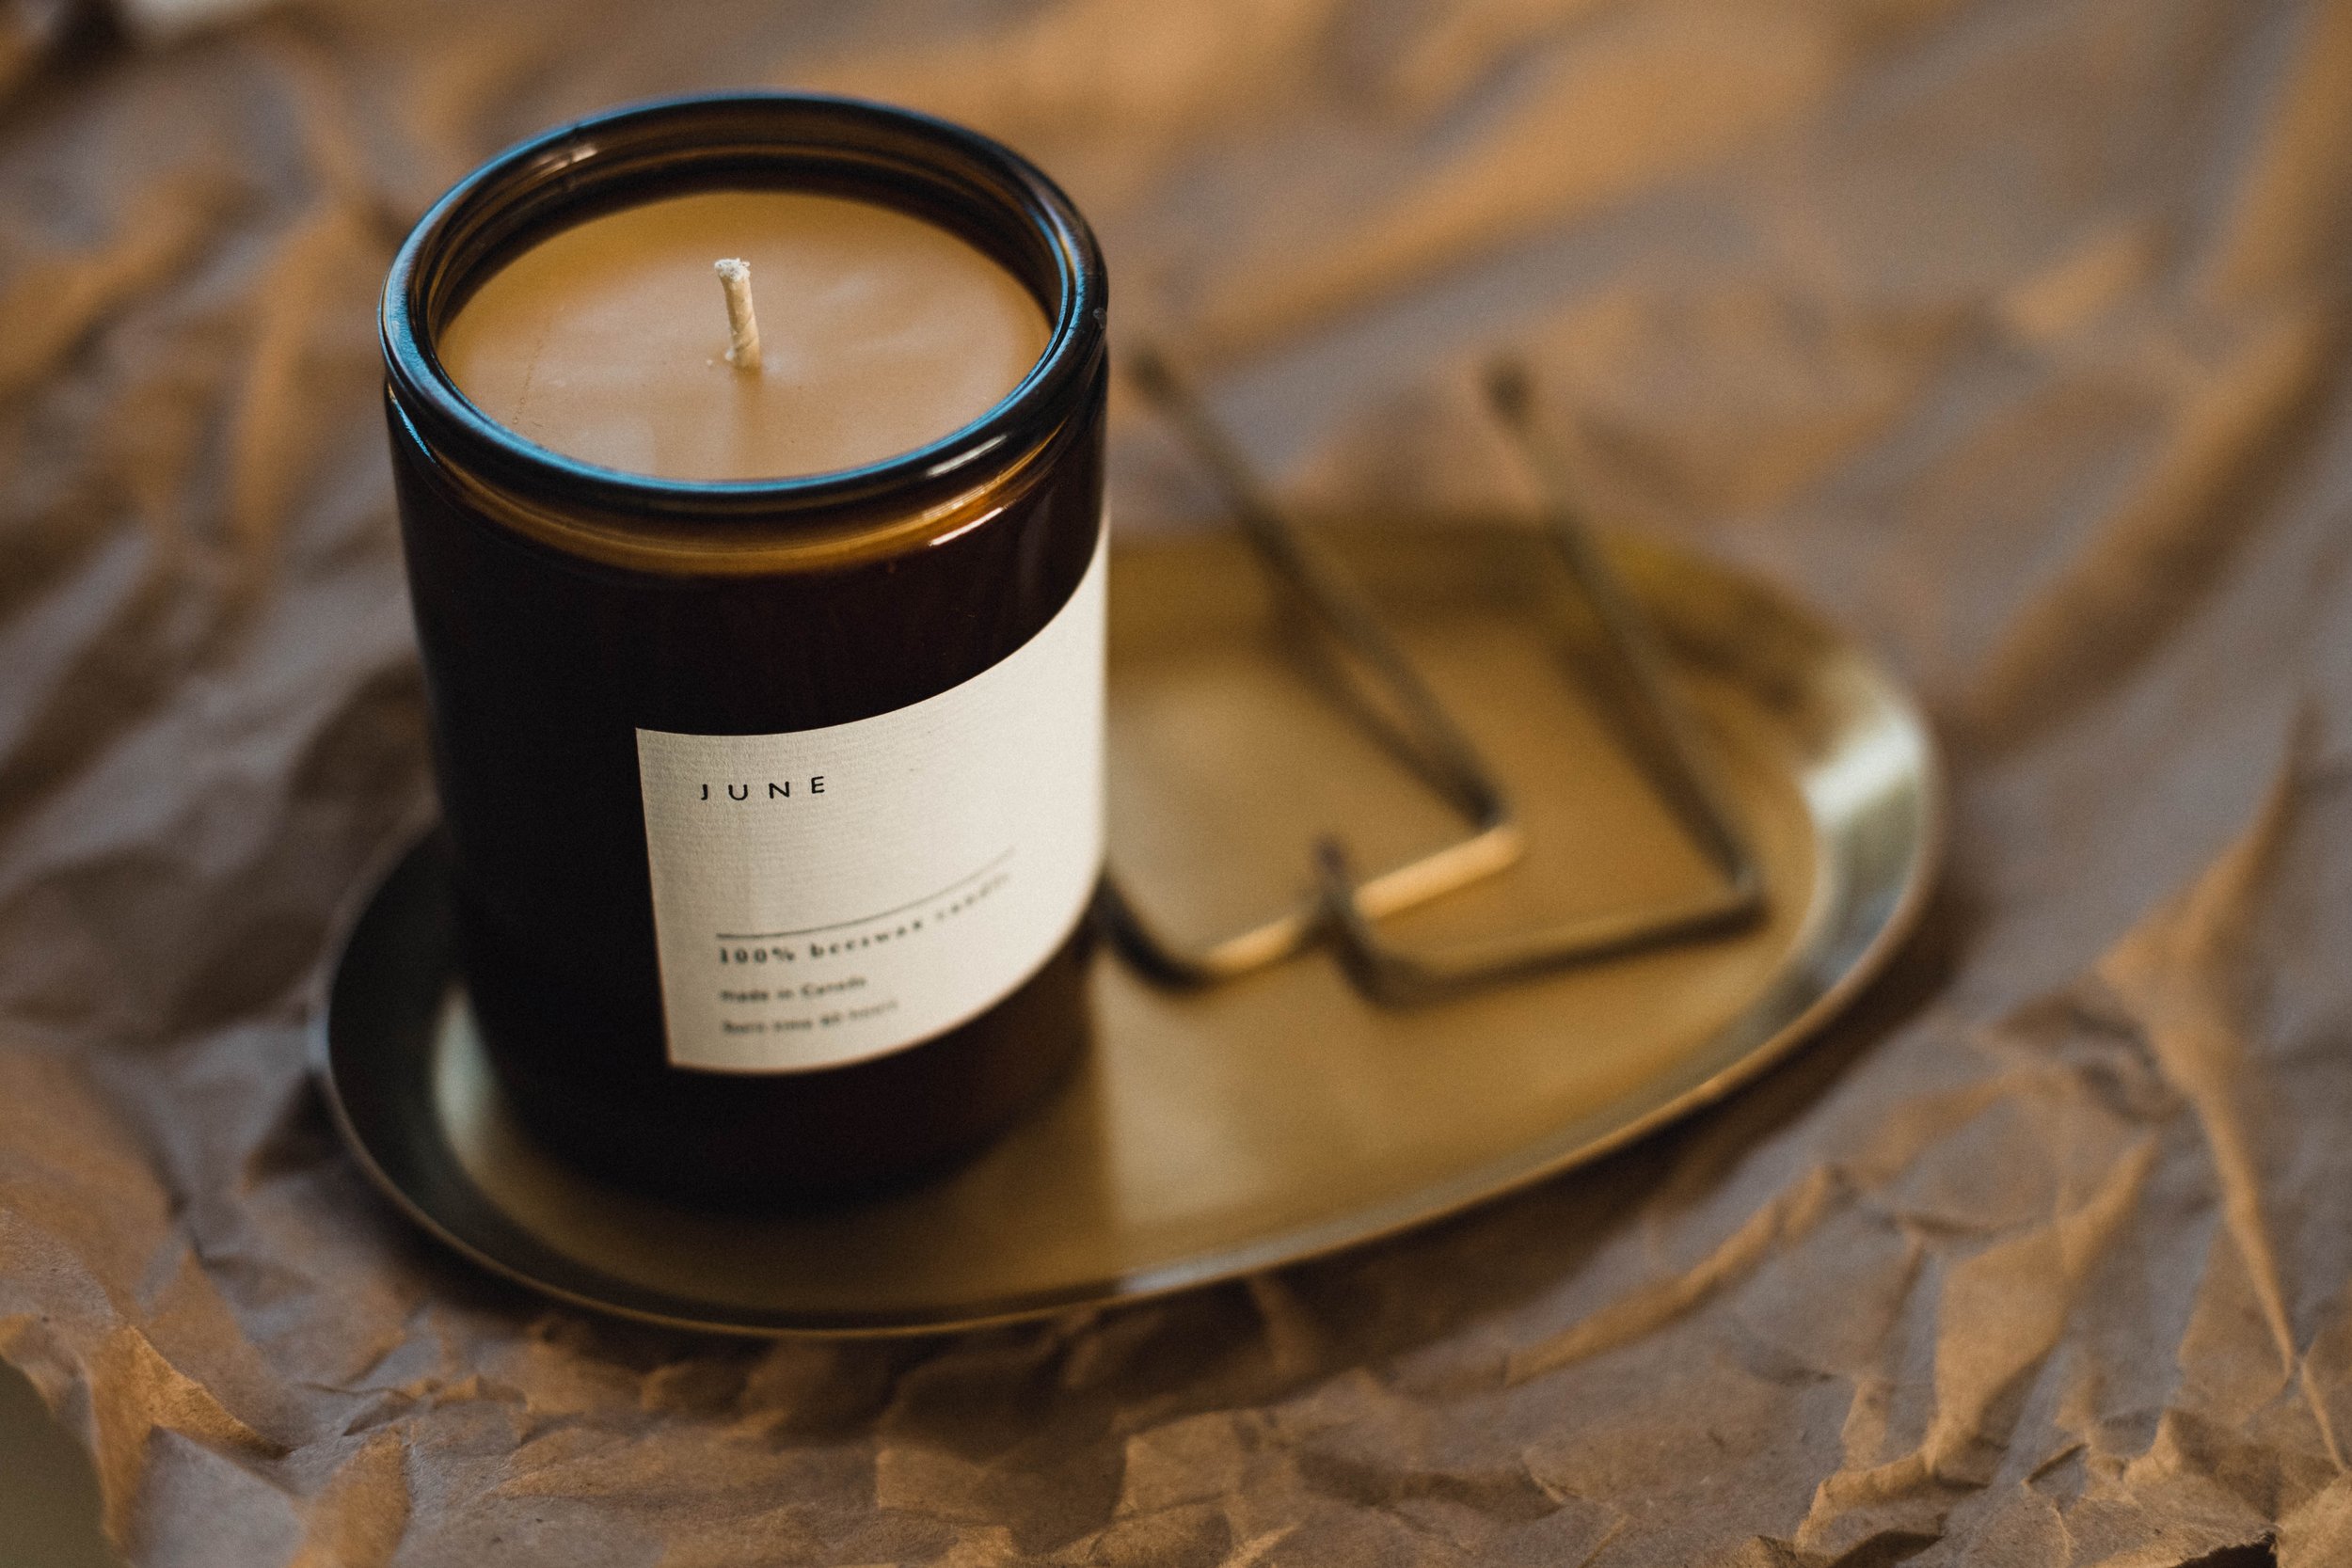
I sliced the packing tape along the joins of the box flaps and opened them wide, picked up the thoughtful card resting on top, thanking me for my order. I removed the crumpled packing paper and tossed it to the floor, where Maggie Mae eagerly grabbed it and took off running with it trailing wildly behind her (before quickly plopping down to shred it to pieces). Carefully wrapped and packed inside the box were a few things I needed to bring my recent kitchen purge and reorganization to completion: a couple of hooks, a brass tray, and a candle (just because). On other days, in other boxes that landed on my doorstep, there were jars in a variety of sizes, and labels with a variety of words. From the woodworker’s shop, I picked up a custom wooden tray and a few more shelves cut to size. At my own kitchen counter, I cut a cracker box down to hold the coffee filters in the morning drawer.
It’s like this. Sourcing, purchasing, or making what you need for function and organization, for living well. At first, it’s easy to see and be enticed by all the available baskets, bins, trays, bottles, and jars available at the click of a button, telling us that we certainly need it all to truly become organized in our homes. It’s easy to put the cart before the horse, so to speak, and line the shelves with baskets, to start off, or fill the newly-purchased jars with anything and everything, first thing. But, can I say this? Do the buying (or making) only after you’ve discovered what your needs actually are, not before.
This tiny mantra might be helpful: Know before you go; identify before you buy.
In anticipation of my own recent pantry refresh, I thought I would need baskets in just-right sizes to sit on my pantry shelves. Turns out, I didn’t. The space was used best, and functions just as well, without them. Working in this way, you’ll likely find that you need far fewer containers and whatchamacallits than you expected. Then, your dollars can be put toward the purchases that will actually make a difference, those things that make the whole thing work and the function of it sing.
If you’re working through a fall refresh of drawers, cabinets, and shelves too, and are a bit intimidated by it all, if it’s helpful, here’s how I navigated the process:
Remove everything from the cabinet, drawer, or shelf. Clean, repair, repaint - get the space in its best shape while it’s empty.
Identify its main function. Will this drawer hold spices? Will this shelf hold serve ware? Pasta? Kitchen linens?
Add a shelf. Determine the tallest height of the items you’ll be putting on a shelf, then look to see if there’s a lot of unused space between the top of the tallest items and the shelf above it. If there is, you can add another shelf. Most cabinets have pre-drilled holes along the inside walls for placing pins to hold the shelves at whatever height you need. More pins can be purchased from a hardware store, and additional shelves can be special ordered from a local cabinet maker (or your cabinet manufacturer) to match your cabinet interior.
From everything that you removed, only put back the things you are positively sure about keeping in that particular space. Leave everything else behind. When you’re all done, circle back to the left-behind and either toss it (if you’re working with pantry food, check expiration dates.), donate it, or re-assign it to a better place. One of the left-behind items for me was our cookie jar. With the boys gone from home, it was sitting empty and taking up valuable pantry shelf space. It’s now been re-assigned to hold new sponges under the kitchen sink.
As you’re putting things back in place, group them into logical order. For example, all spices together, all oils & vinegars together, all baking goods together, all packaged snacks together.
Now that everything is where you want it to be, assess the containers themselves. For example, are the storage jars you have working for you? If not, is there a solution that would make them (and your life) reasonably better or easier? Different jars? Or perhaps just different lids? For example, if you’re using canning jars as storage, the separate lid-and-ring typically found on them can be replaced with single-piece metal screw-on lids, or wooden lids with silicone seals. If you’re like me and the the lid-and-ring style drives you batty on jars used for storage, you’ll be happy about this. Grin. Of the glass itself, typically, jars of the same kind or style provide a visual calm and give a sense of order to a space, while a mixture of jar styles brings an eclectic look and feeling. Knowing which works better for your sensibility and budget is helpful.
Find it (or make it) first. It’s always good to shop your own house before you make purchases elsewhere. Chances are, you already have a container that will work perfectly for that item in that space. I shopped my house for a container to hold our coffee filters, without any luck, until I realized that a near-empty cracker box was just the right dimensions, except a bit too tall. I trimmed it down and it’s working perfectly. One day, I may even cover it with a bit of handmade paper or wallpaper.
Decant, but only if it’s helpful. I realized that I appreciate having bulk things like dry beans and grains decanted into clamp-lid storage jars, but decanting pasta was a waste of my time. So the pastas sit happily on the shelf in their original boxes.
Get a count. Now that you know what you have that needs a new jar, container, or basket, you can get an accurate count and size, then purchase accordingly. This is how you put your money toward the things that actually make a difference.
Label where it’s helpful. I find that over-labeling isn’t helpful for me. If I can clearly see what’s inside a container, I won’t spend the time to label it. However, I find it enormously helpful, for example, to label spices and herbs, as well as some baking ingredients (it’s good to know if it’s powdered sugar or cornstarch, you know?). I chose made-to-order labels so I would have the words that I needed and none that I didn’t.
I hope this is helpful to you as you settle your home this fall. Of course, you’ll get to see this process, finished, in my kitchen in the first session of my new Living Well service. I’m looking forward to sharing it with all of you who join!
P.S. Thank you to those of you who have sent in room submissions for consideration/feature in the first Living Well session! If you haven’t yet sent yours in, here’s encouragement to do it! (Here’s how)